Lab 05: SARIF Output and GitHub Security Tab
Learning Objectives
By the end of this lab, you will be able to:
- Generate accessibility scan results in SARIF v2.1.0 format
- Explain the SARIF schema including runs, results, rules, and locations
- Upload SARIF files to the GitHub Security tab using the CodeQL upload action
- Navigate the GitHub Security tab to view accessibility alerts
- Triage findings by filtering, dismissing, and categorizing alerts
Exercises
Exercise 5.1: Generate SARIF Output
You will generate accessibility scan results in the SARIF format used by GitHub Code Scanning.
-
Create a results directory if it does not exist:
mkdir -p results -
Run the scanner with SARIF output:
npx ts-node src/cli/commands/scan.ts --url http://localhost:8001 --format sarif --output results/a11y-001.sarif -
Verify the SARIF file was created:
ls -la results/a11y-001.sarif
Exercise 5.2: Examine SARIF Structure
You will walk through the SARIF v2.1.0 schema to understand how accessibility findings are represented.
-
Open
results/a11y-001.sarifin your editor. The top-level structure is:{ "$schema": "https://raw.githubusercontent.com/oasis-tcs/sarif-spec/main/sarif-2.1/schema/sarif-schema-2.1.0.json", "version": "2.1.0", "runs": [...] } -
Each run represents one scan execution and contains:
Section Description toolThe scanner tool identity and version tool.driver.rulesArray of rule definitions with IDs, descriptions, and help URLs resultsArray of individual findings results[].ruleIdWhich rule was violated results[].levelSeverity: error,warning, ornoteresults[].messageHuman-readable description of the finding results[].locationsWhere the violation occurs (URI and region) 
-
Review how severity levels map from axe-core impact to SARIF:
axe-core Impact SARIF Level critical error serious error moderate warning minor note -
Examine a single result entry:
{
  "ruleId": "image-alt",
  "level": "error",
  "message": {
    "text": "Images must have alternate text"
  },
  "locations": [
    {
      "physicalLocation": {
        "artifactLocation": {
          "uri": "http://localhost:8001"
        }
      }
    }
  ]
}
Exercise 5.3: Upload SARIF to GitHub
You will upload the SARIF file to your fork’s Security tab using the GitHub CodeQL action.
-
Create a workflow file at
.github/workflows/upload-sarif.ymlin your fork:name: Upload SARIF on: workflow_dispatch: inputs: sarif_file: description: 'Path to SARIF file' required: true default: 'results/a11y-001.sarif' permissions: security-events: write jobs: upload: runs-on: ubuntu-latest steps: - uses: actions/checkout@v4 - name: Upload SARIF uses: github/codeql-action/upload-sarif@v4 with: sarif_file: $ category: accessibility-scan -
Commit and push the workflow to your fork:
git add .github/workflows/upload-sarif.yml git commit -m "feat: add SARIF upload workflow" git push -
Ensure the SARIF file is also committed:
git add results/a11y-001.sarif git commit -m "feat: add sample SARIF scan results" git push -
Trigger the workflow:
gh workflow run upload-sarif.yml -
Wait for the workflow to complete:
gh run watch
[!NOTE] The
github/codeql-action/upload-sarif@v4action requires thesecurity-events: writepermission. GitHub Advanced Security must be enabled on your repository (it is enabled by default on public repositories).
Exercise 5.4: Browse Findings in Security Tab
You will navigate the GitHub Security tab to view the uploaded accessibility alerts.
-
Open your fork on GitHub in a browser.
-
Navigate to the Security tab, then click Code scanning.
- You should see accessibility alerts grouped by rule. Each alert shows:
- Rule ID and description
- Severity (error, warning, note)
- The affected URL

-
Click on an individual alert to view its full details, including the rule help text and WCAG criterion.

Exercise 5.5: Triage Findings
You will practice filtering and managing alerts in the Security tab.
-
Use the severity filter to show only
error-level alerts (critical and serious violations):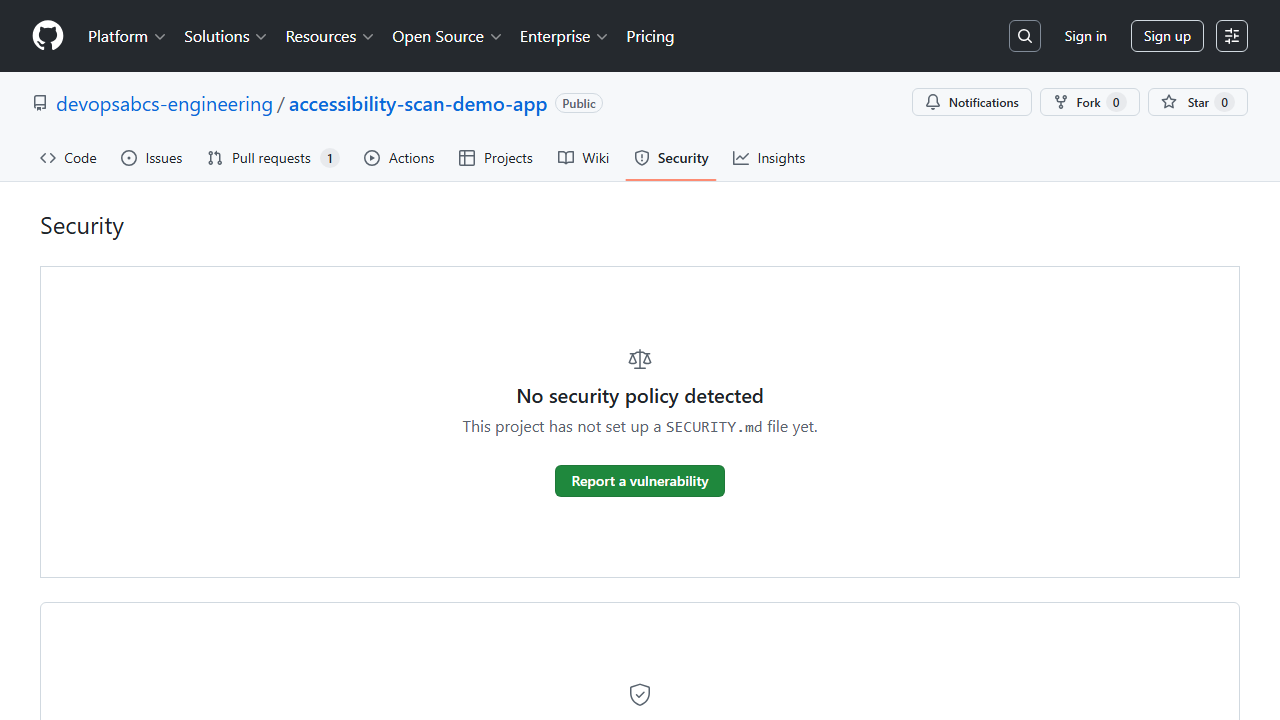
- Click on a low-severity alert and click Dismiss alert. Select a reason:
- False positive — if the finding is incorrect
- Won’t fix — if the finding is intentional
- Used in tests — if the code is a test artifact

- Note that dismissed alerts remain visible with a strikethrough. You can reopen them later if needed.
[!TIP] In a real project, triage alerts as part of your team’s sprint review. Critical and serious violations should be addressed immediately, while moderate and minor issues can be tracked for future sprints.
Verification Checkpoint
Before proceeding, verify:
- Generated a SARIF file from the scanner CLI
- Can describe the 4 main SARIF sections (schema, runs, tool/rules, results)
- Uploaded a SARIF file to GitHub via the upload-sarif workflow
- Viewed accessibility alerts in the GitHub Security tab
- Triaged at least 1 alert (dismissed or reviewed)
[!NOTE] Choose your path: If you are following the GitHub track, continue to Lab 06: GitHub Actions. If you are following the Azure DevOps track, continue to Lab 06-ado: ADO Advanced Security.
Next Steps
Proceed to Lab 06: GitHub Actions Pipelines and Scan Gates.