Lab 00: Prerequisites and Environment Setup
[!NOTE] This workshop is part of the Agentic Accelerator Framework.
| Duration | 30 minutes |
| Level | Beginner |
| Prerequisites | None |
Learning Objectives
By the end of this lab, you will be able to:
- Fork and clone the
accessibility-scan-demo-apprepository - Install the required tools (Node.js, Docker, GitHub CLI, Azure CLI, PowerShell 7+, Charm freeze)
- Verify all tool installations with version checks
- Install scanner dependencies and Playwright browsers
- Start the accessibility scanner locally and confirm it is running
Exercises
Exercise 0.1: Fork and Clone Repositories
You will fork the scanner repository so you have your own copy to work with.
-
Open a terminal (PowerShell 7+).
-
Fork and clone the scanner repository using the GitHub CLI:
gh repo fork devopsabcs-engineering/accessibility-scan-demo-app --clone -
Change into the cloned directory:
cd accessibility-scan-demo-app -
Verify the remote points to your fork:
git remote -vYou should see your GitHub username in the
originURL. -
Fork and clone the workshop repository:
gh repo fork devopsabcs-engineering/accessibility-scan-workshop --clone
[!TIP] If you do not have the GitHub CLI installed yet, you will install it in the next exercise. You can also fork via the GitHub web UI and clone manually with
git clone.
Exercise 0.2: Install Required Tools
You will install the tools used throughout the workshop.
-
Node.js 20+ — Download from nodejs.org or install via a package manager:
# Windows
winget install OpenJS.NodeJS.LTS
# macOS brew install node@20 -
Docker Desktop — Download from docker.com or install via a package manager:
# Windows winget install Docker.DockerDesktop -
GitHub CLI — Install the
ghCLI:# Windows winget install GitHub.cli# macOS brew install gh -
Azure CLI — Install
az:# Windows winget install Microsoft.AzureCLI# macOS brew install azure-cli -
PowerShell 7+ — Install the latest PowerShell:
# Windows
winget install Microsoft.PowerShell
# macOS brew install powershell/tap/powershell -
Charm freeze — Install the terminal screenshot tool:
# Windows
winget install charmbracelet.freeze
# macOS brew install charmbracelet/tap/freeze
[!TIP] On Windows, run these commands in an elevated PowerShell terminal. Restart your terminal after installation so the tools are available on your PATH.
Exercise 0.3: Verify Tool Versions
You will run version checks to confirm every tool is installed correctly.
-
Node.js:
node --versionExpected output:
v20.x.xor higher.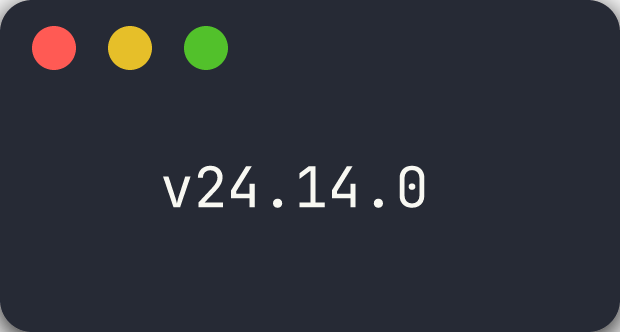
-
Docker:
docker --versionExpected output:
Docker version 2x.x.xor higher.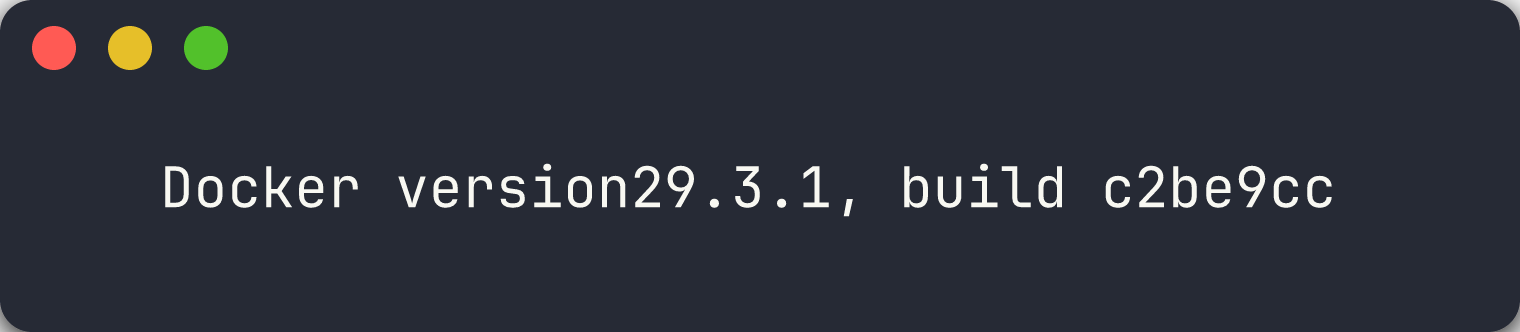
-
GitHub CLI:
gh --version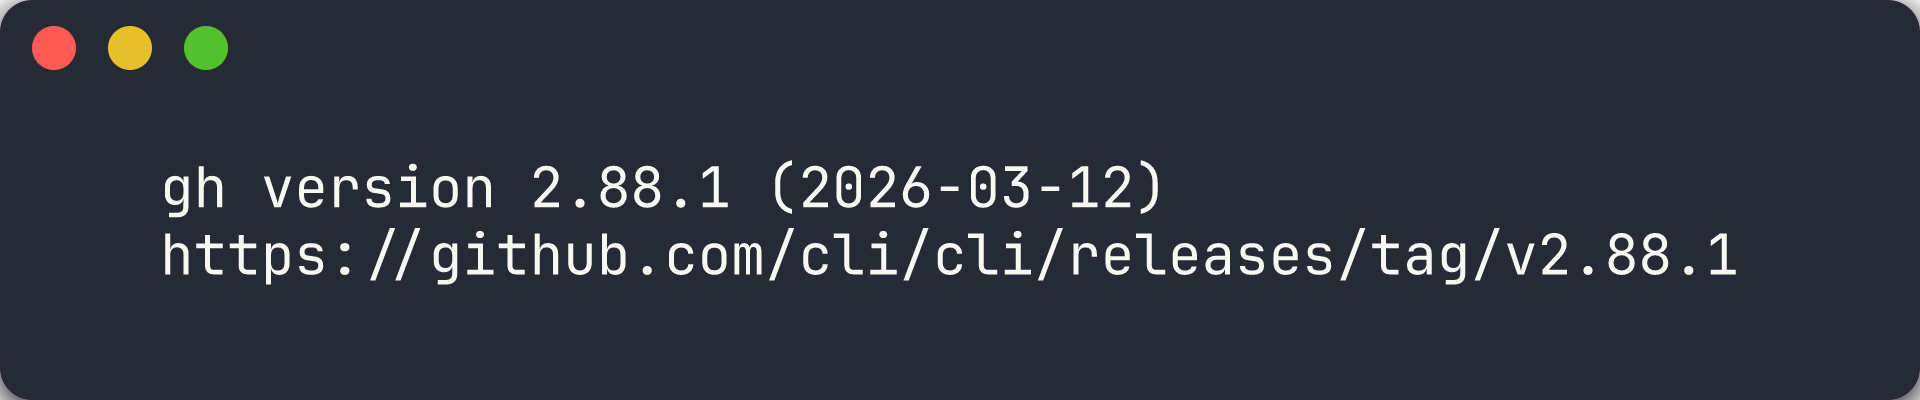
-
Azure CLI:
az --version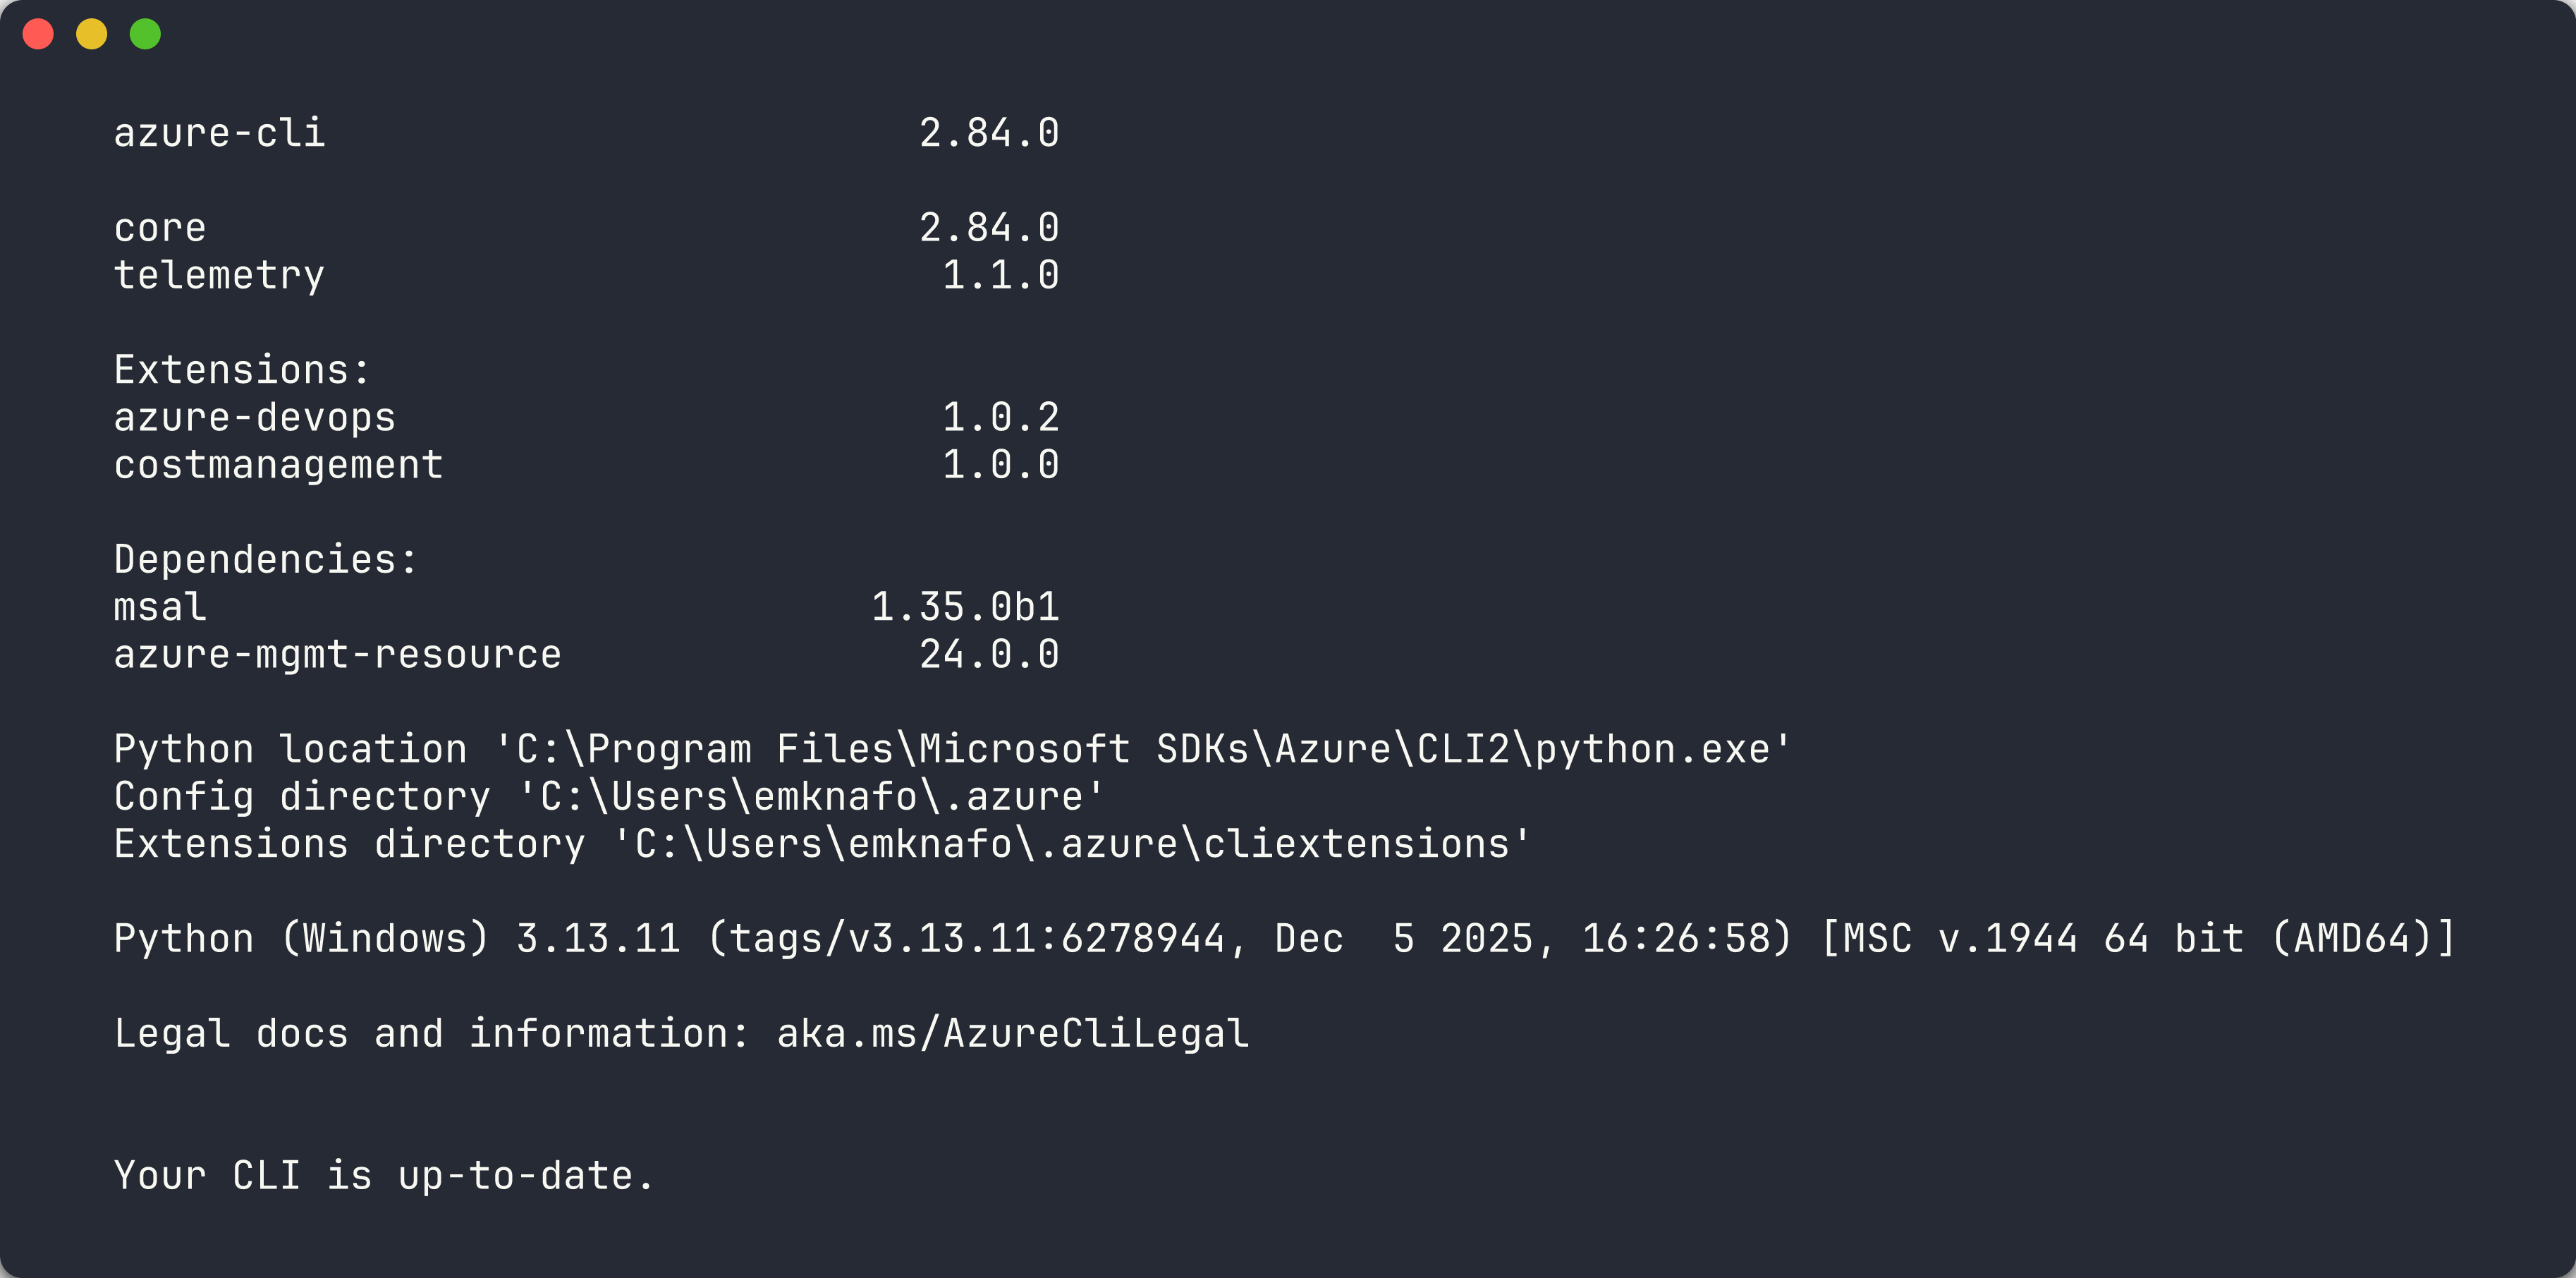
-
PowerShell:
$PSVersionTable.PSVersionExpected output:
7.x.xor higher.
-
Charm freeze:
freeze --version
[!CAUTION] If any tool fails the version check, resolve the installation issue before proceeding. Later labs depend on all tools being available.
Exercise 0.4: Install Scanner Dependencies
You will install the Node.js dependencies and Playwright browser required by the scanner.
-
Navigate to the scanner repository root:
cd accessibility-scan-demo-app -
Install Node.js dependencies:
npm install -
Install the Playwright Chromium browser:
npx playwright install --with-deps chromium
[!NOTE] The Playwright browser download is approximately 150 MB. This browser is used by the scanner to render pages and run accessibility checks.
Exercise 0.5: Start the Scanner Locally
You will start the accessibility scanner and verify it is running.
-
Start the scanner using the local start script:
./start-local.ps1The script starts the Next.js development server on port 3000.
-
Open your browser and navigate to:
http://localhost:3000 -
Verify the scanner home page loads with the scan form visible.
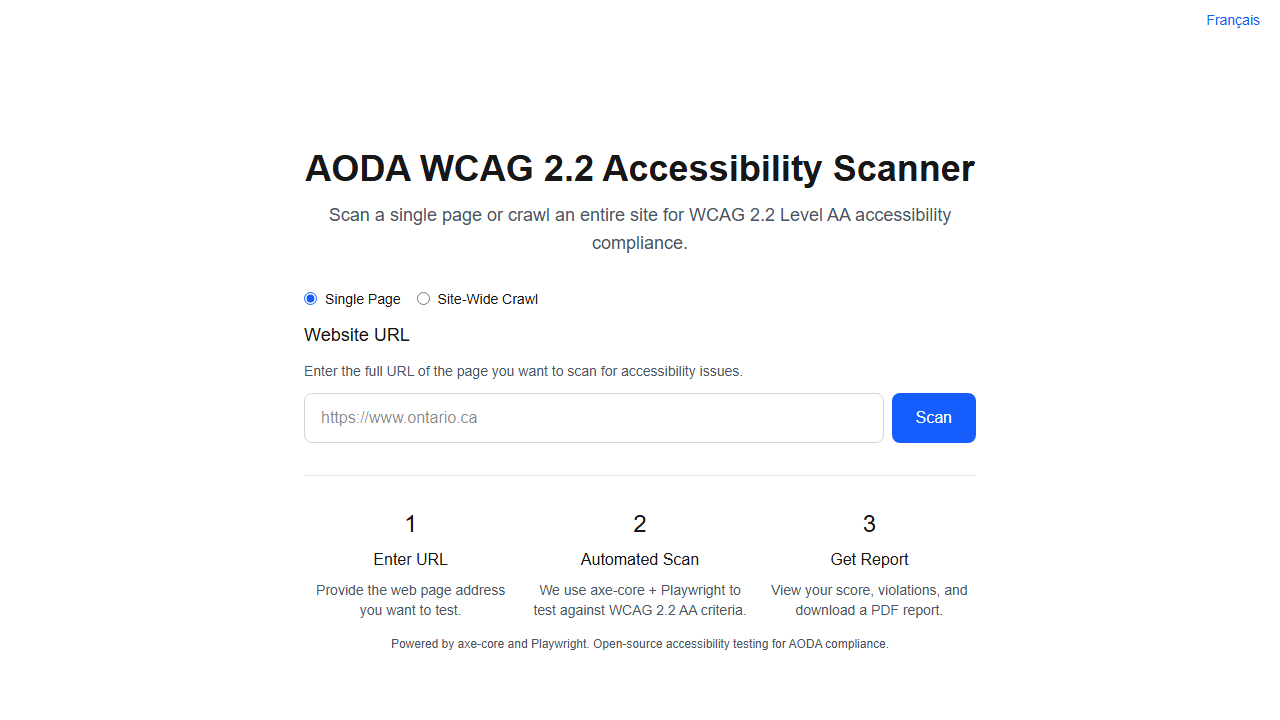
-
Leave the scanner running for use in subsequent labs.
[!TIP] If port 3000 is already in use, stop the conflicting process or run
./stop-local.ps1first. You can also start the scanner with Docker using./start-local.ps1 -Mode docker.
Verification Checkpoint
Before proceeding, verify:
- Repository forked and cloned locally
- All 6 tools installed and returning version output (Node.js, Docker, gh, az, pwsh, freeze)
npm installcompleted without errors- Playwright Chromium browser installed
- Scanner running at
http://localhost:3000
Next Steps
Proceed to Lab 01: Explore the Demo Apps and WCAG Violations.